Kanger Subtank Review

Combining the outstanding performance with the ease of replaceable coils is not easy, but there is one product on the market that managed to do so with exceptional elegance and that is the Subtank from Kangertech. You can use this gizmo with either the new organic cotton coil heads (OCC) or as an RBA and build your own coils. But no matter how you decide it’s the best option to suit your needs, you will be absolutely amazed by the performance and build quality of this tank. We have to say, the guys at Kangertech have outdone themselves this time and this is surely going to be one of their flagship products for a very long time.
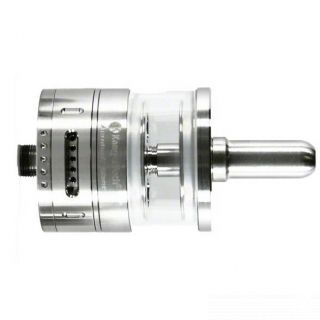
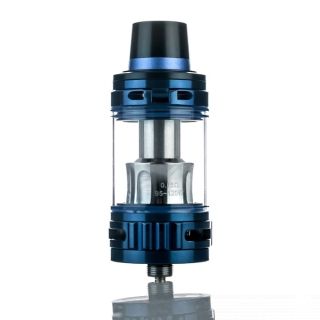
But let’s cut to the chase and take a closer look at the Kanger Subtank. It comes packed in one of the best presentation boxes we’ve seen so far – wrapped in plastic foil, great quality cardboard and the whole deal. Inside you will find the fully assembled tank which looks amazing – full stainless steel body combined with Pyrex glass to give it an elegant and solid aspect and with a diameter of 25mm. This automatically puts it in the big league of tanks, but if you prefer to use it on a smaller mod there are also the Mini and Nano versions available.
Another aspect that you are about to notice about the Kanger Subtank is that is has an adjustable airflow mechanism that works by twisting the base ring and selecting from three different settings. The ring is smooth yet not very loose and the whole system is perfect to suit any style of vaping. The other remarkable thing is the spring loaded 510 pin (with a gold tip) that should provide a flush fit regardless of the mod you are attaching it to and the best conductivity.
Besides the tank, inside the box you will also find a user manual, a screwdriver and spares, some organic cotton, a spare OCC head and last but not least another base and chimney if you want to use the Kanger Subtank in RBA mode. The two OCC heads are rated at 0.5 Ohms and 1.2 Ohms each – so it’s called the Subtank because it comes suited for sub-ohm vaping right out of the box. So, in tank mode you have to pick one of the two heads, depending on the types of mods you own (they probably included the 1.2Ohm head because not all devices work with sub-ohm builds) screw it onto the base, fill up the reservoir with e-liquid (it takes around 6ml of juice in this configuration) mount everything together and you are ready to vape. We almost forgot to mention the drip tip, which matches the tank in detail and is also made from stainless steel.
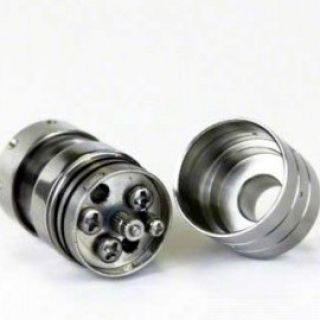
If you want to use the Kanger Subtank in RBA mode (or rebuildable tank atomizer mode – which is more appropriate) you need to separate the base from the rest of the tank, unscrew the organic cotton coil head and mount the RBA deck (it comes prebuilt with dual coils – 0.8 Ohm). You then have to mount the chimney section but you also need to replace the top cap of the atomizer with the shorter one because this configuration is a lot bigger than in regular tank mode. It also takes a lot less juice – with around 4.2ml filling it completely. You then have to put the organic cotton through the coils, soak them in e-liquid and mount the whole tank back together.
So which configuration is best for the Subtank? Well, it depends on personal preference. We used it a lot in regular tank mode and then made the switch to the RBA for the last week. We are totally impressed no matter what. This is definitely Kanger’s jewel and the flavor you are going to get from it definitely rivals with some of the most expensive tanks or RBAs money can buy. Vapor production is staggering and the autonomy is impressive even with the 0.5Ohm coil that eats through e-liquid like a beast. You are getting a lot for your money and as long as you are ok with the 25mm diameter this product is just perfect.
